Install Octopus Deploy Server
- Install SQL Server 2016 Always-On Cluster (if not already done)
- Create a Managed Service Accounts for the Octopus service to use…
- On the SQL 2016 Server, create a database named OctopusDeploy and add to the availability group.
- Make sure to give the managed service account and the account installing Octopus permission to this database.
- Download the Server installer from https://octopus.com/downloads and run the installer.
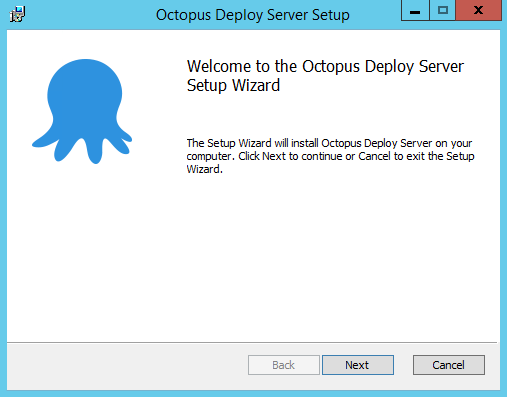
- The installer will open the setup wizard, click Next.
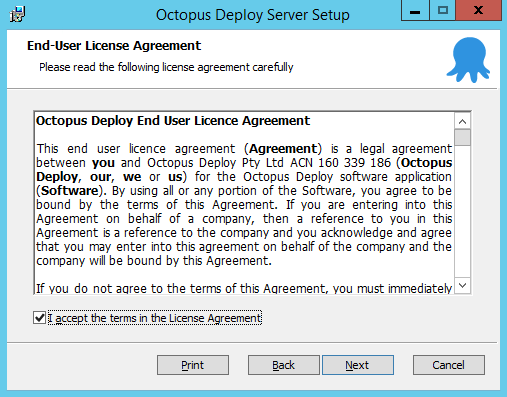
- Accept the License Agreement and click Next.
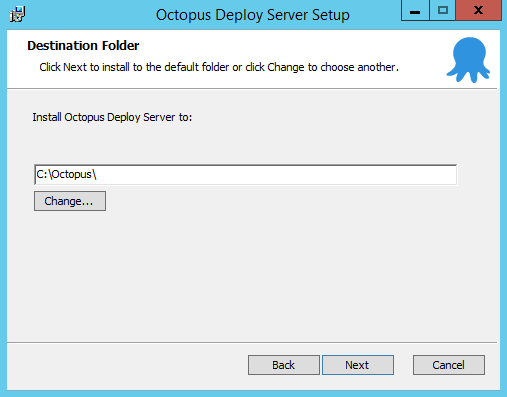
- Select
C:\Octopusfor the Home directory and then Click “Next”.
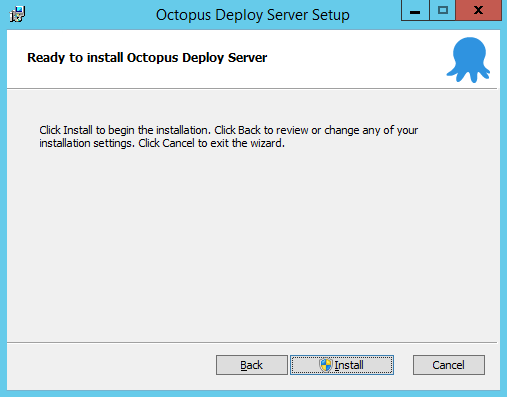
- Click Install to start the install.
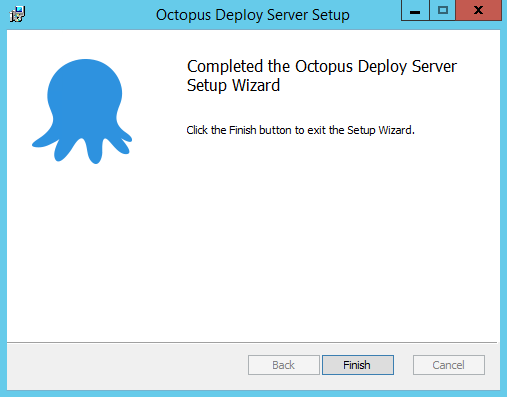
- Click Finish…
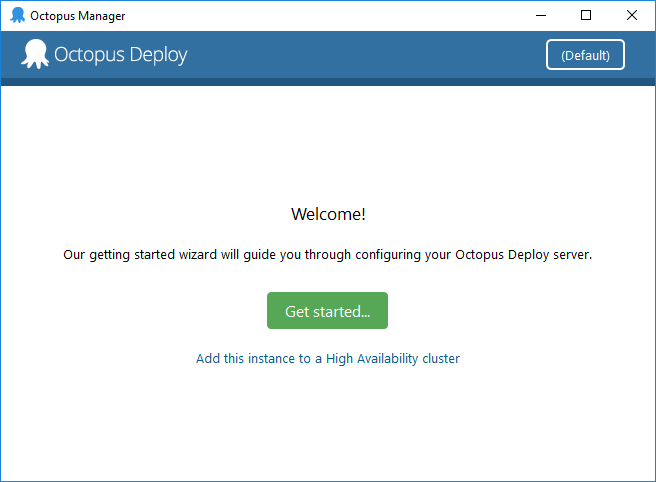
- Octopus Manager will launch, Click on “Get started…“
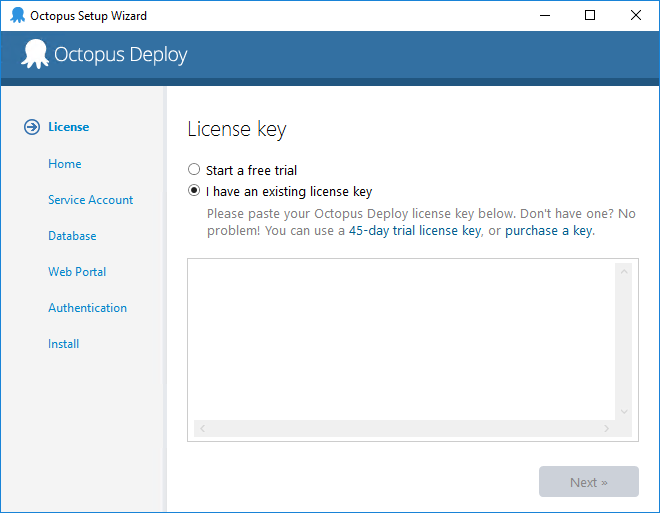
- Either start a free trial or enter you existing license key, then click “Next”
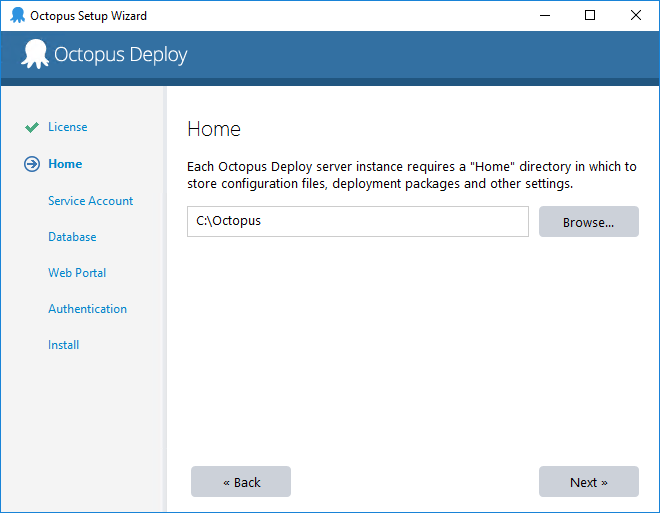
- Select
C:\Octopusfor the Home Directory, then click “Next”
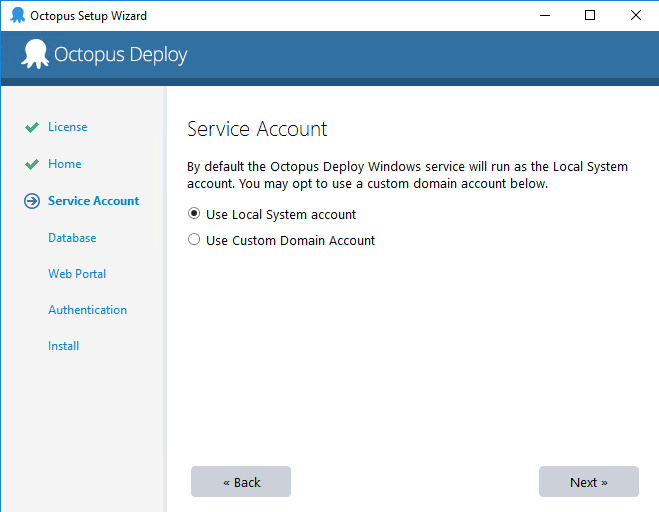
- Select “Use Local System Account” and click “Next”
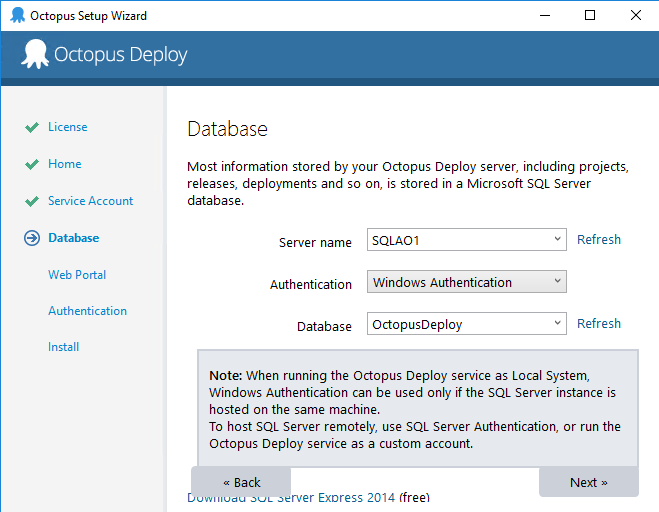
- Enter the information for the SQL 2016 instances for the Octopus Database, then click “Next”
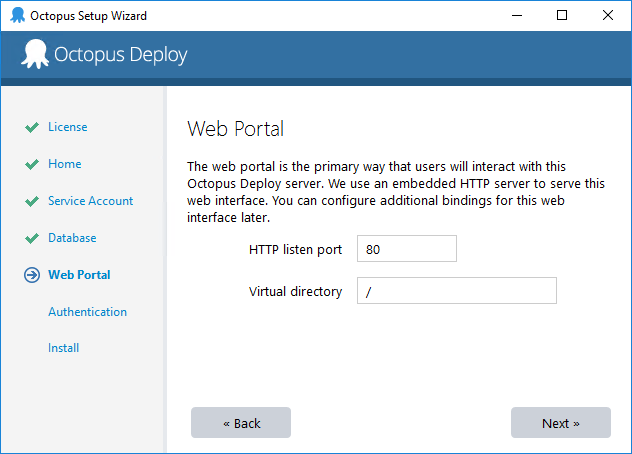
- For Web Portal, accept defaults and click “Next”.
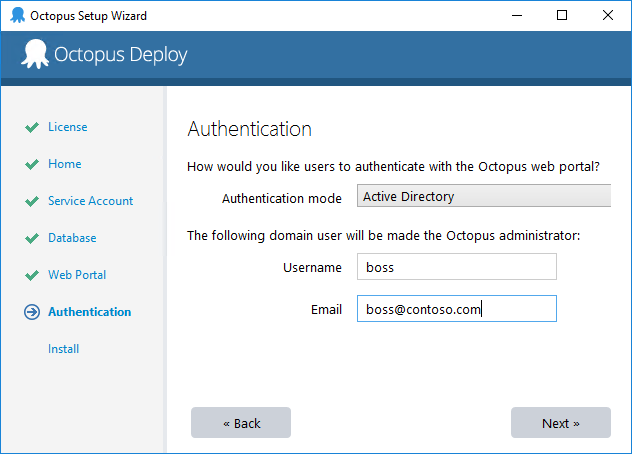
- For Authentication, select “Active Directory”, then click “Next”
- Click the “Install”
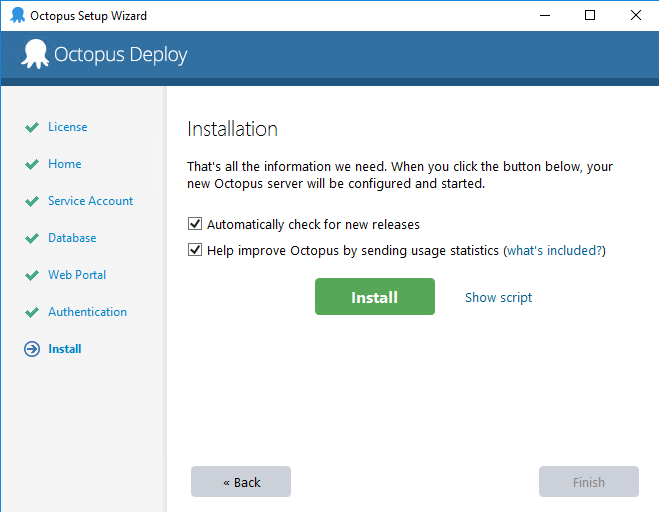
- After the installation has finished, click “Finish”.
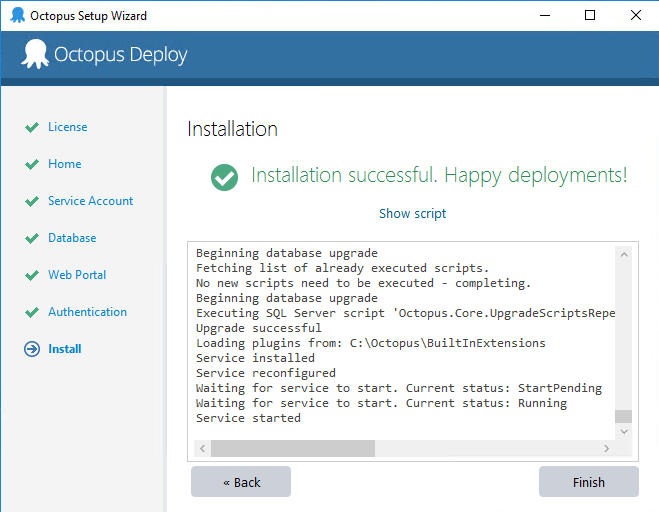
- At this point, the service is stopped and we need to open the Windows Service Control Panel to add the service account created above.
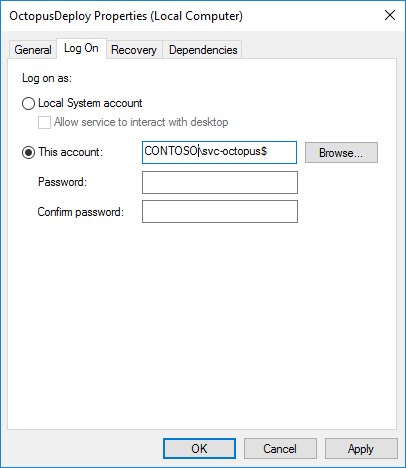
- We also need to give the service account permissions to the directory and the bindings:
$account= New-Object System.Security.AccessControl.FileSystemAccessRule( `
    "CONTOSO\svc-octopus$", `
    "FullControl", `
    "ContainerInherit,ObjectInherit", `
    "None", `
    "Allow")

$acl = Get-Acl "C:\Octopus"
$acl.SetAccessRule($account)
Set-Acl "C:\Octopus" -AclObject $acl

netsh http add urlacl url=http://+:80/ user=CONTOSO\svc-octopus$
netsh http add urlacl url=https://+:443/ user=CONTOSO\svc-octopus$
- Before starting the service, go back to the Octopus Manager and click “Change Bindings”, then click “Add” in the web bindings wizard.
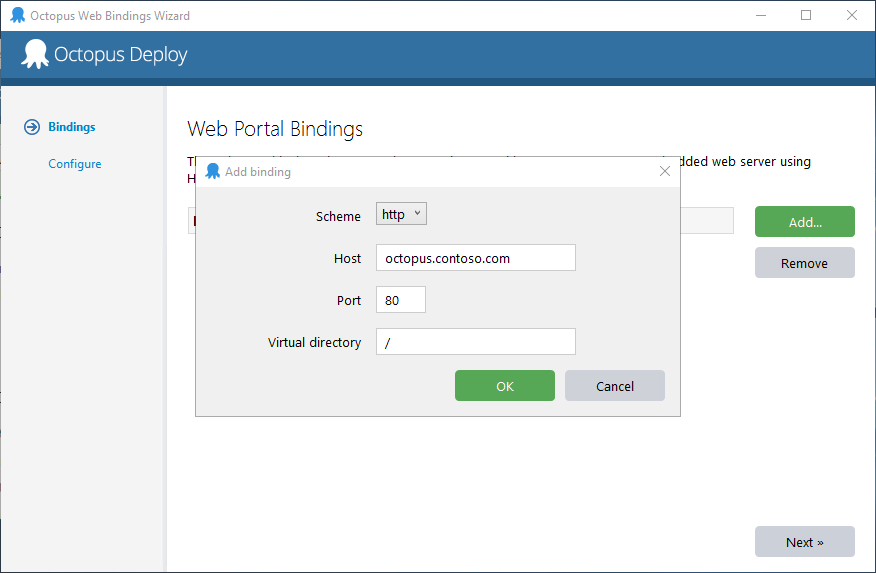
- For host, type
octopus.contoso.comand then click “OK”- If you have an SSL certificate, change the scheme to
https
- Click “Next” then “Apply” to enable changes.
- See Continuous Delivery for information on configuring the server.