There is a point to this story, but it has temporarily escaped my mind...
Contact Me MyFaceBook MyLinkedIn MyGitHub MyTwitter

Install Octopus Deploy Server

  1. Create a Managed Service Accounts for the Octopus service to use…
  2. On the SQL 2016 Server, create a database named OctopusDeploy and add to the availability group.
  3. Make sure to give the managed service account and the account installing Octopus permission to this database.
  4. Download the Server installer from https://octopus.com/downloads and run the installer.
  5. The installer will open the setup wizard, click Next.
  6. Accept the License Agreement and click Next.
  7. Select C:\Octopus for the Home directory and then Click “Next”.
  8. Click Install to start the install.
  9. Click Finish…
  10. Octopus Manager will launch, Click on “Get started…“
  11. Either start a free trial or enter you existing license key, then click “Next”
  12. Select 
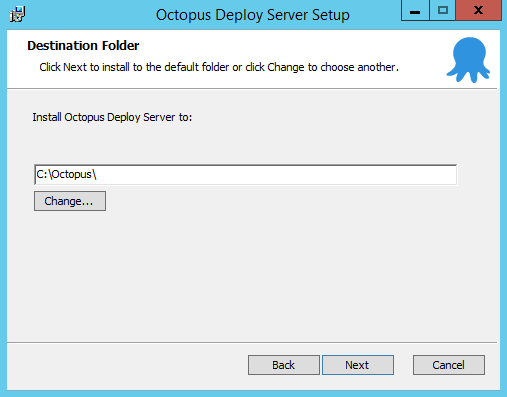
C:\Octopus for the Home Directory, then click “Next”
  13. Select “Use Local System Account” and click “Next”
  14. Enter the information for the SQL 2016 instances for the Octopus Database, then click “Next”
  15. For Web Portal, accept defaults and click “Next”.
  16. For Authentication, select “Active Directory”, then click “Next”
  17. Click the “Install”
  18. After the installation has finished, click “Finish”.
  19. At this point, the service is stopped and we need to open the Windows Service Control Panel to add the service account created above.
  20. We also need to give the service account permissions to the directory and the bindings:
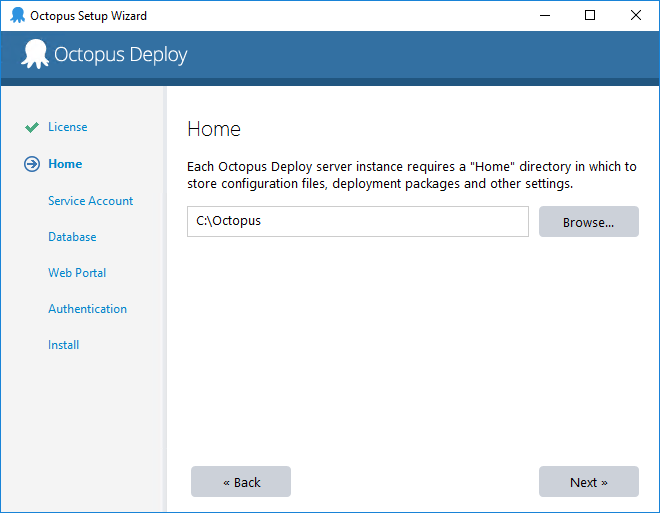
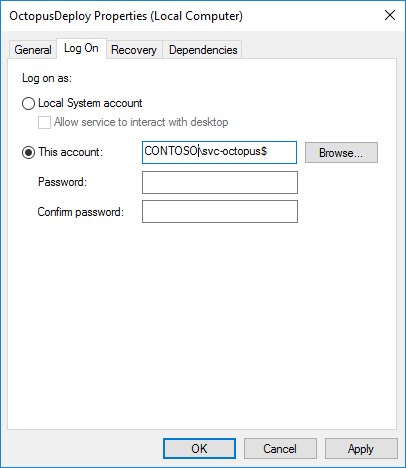
    $account= New-Object System.Security.AccessControl.FileSystemAccessRule( `
        "CONTOSO\svc-octopus$", `
        "FullControl", `
        "ContainerInherit,ObjectInherit", `
        "None", `
        "Allow")
     
    $acl = Get-Acl "C:\Octopus"
    $acl.SetAccessRule($account)
    Set-Acl "C:\Octopus" -AclObject $acl
     
    netsh http add urlacl url=http://+:80/ user=CONTOSO\svc-octopus$
    netsh http add urlacl url=https://+:443/ user=CONTOSO\svc-octopus$
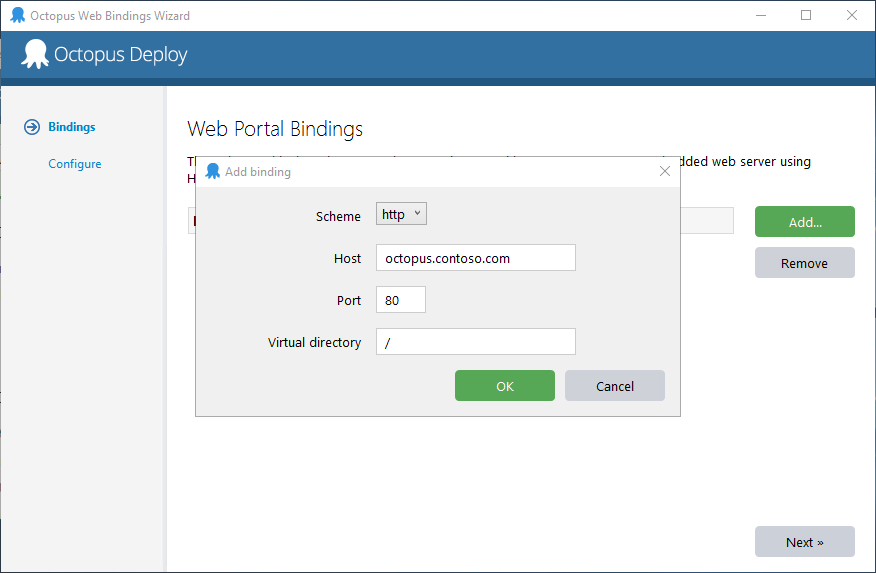
  21. Before starting the service, go back to the Octopus Manager and click “Change Bindings”, then click “Add” in the web bindings wizard.
  22. For host, type octopus.contoso.com and then click “OK”
    • If you have an SSL certificate, change the scheme to https
  23. Click “Next” then “Apply” to enable changes.
  24. See Continuous Delivery for information on configuring the server.
Copyright © 2022 by Julian Easterling. SOME RIGHTS RESERVED.
Privacy Policy              Terms of Use             


Creative Commons License
Except where otherwise noted, content on this site is
licensed under a Creative Common Attribution-Share Alike 4.0 International License.


All of the opinions expressed on this website are those of Julian Easterling and
do not represent the views of any of my current and previous clients or employers in any way.

If you notice an error on the site or content that has not been properly attributed, bring
it to my attention using the contact page and I will endeavor to fix it as soon as I can.

I accept no responsibility or liability for any damages incurred by following any of
my advice or by using any of the information on my site or of those sites that I link to.